Getting started
How to turn an AI art idea into a real print
AutoPrint lets you describe an image and the product it goes on in the same sentence. Start with the scene and style, then choose a size and inspect the physical preview before ordering.
 Liam Wu
 Crystal Holman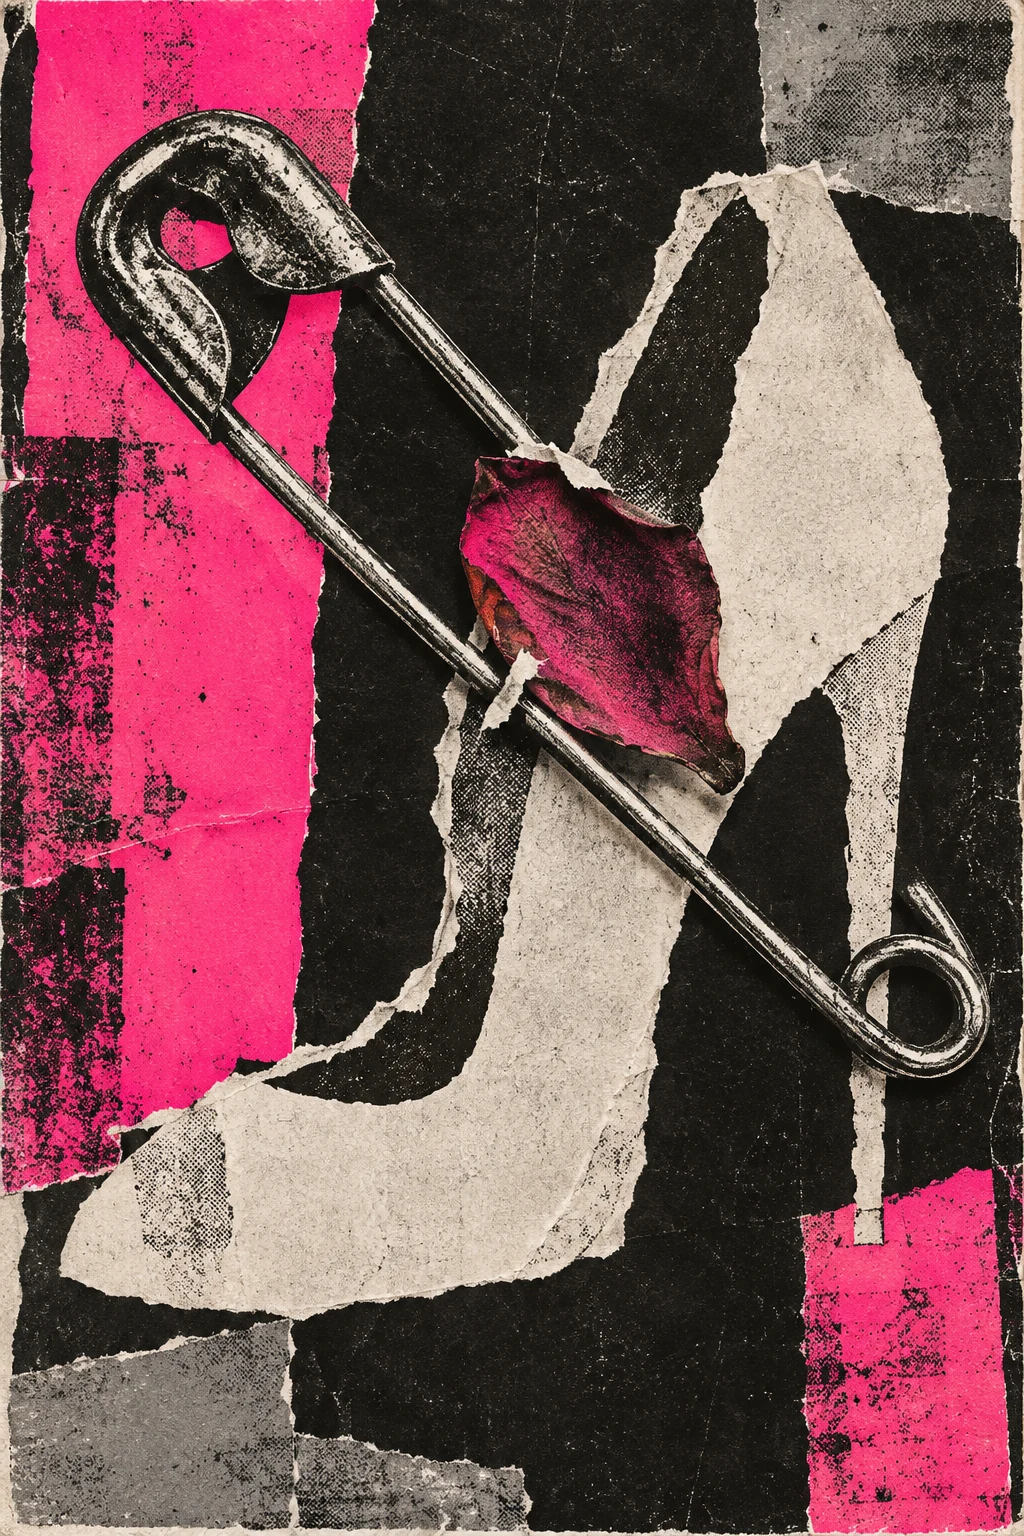
From an image to a print preview
A demonstration using AutoPrint’s owned Safety Pink example. The physical product is a digital preview.
Read the video transcript
One image. Two ways to hang it. Safety Pink is an owned studio example. Choose a poster. Start with your image and format. Try the same image in a frame. Change the format. Keep the artwork. Before you order, check the crop, size and image resolution. A 1,500-pixel edge printed at 20 inches gives 75 pixels per inch. A larger print uses fewer pixels per inch. A preview shows the choice, not a delivered order. Use a prompt, a photo or studio artwork. Make it yours at autoprint.auto-units.com/studio.
Write the picture and the product
A useful brief names a subject, a visual treatment and a physical destination. “A giant safety pin through a torn shoe collage in hot pink and black, as a poster” gives the studio all three. “Make cool art” leaves the important decisions open.
Keep the first request specific enough to judge. A limited palette and a clear subject are easier to check than several competing scenes. If the image misses the point, revise the picture before worrying about frames.
One image, several physical choices
The same image may work on a poster, canvas or mug, but the crop and scale change. A tall composition suits a portrait poster. A small central drawing is easier to read on a mug. Move the main subject away from edges that disappear into a wrap.
The studio shows the selected product and its options. Use the active catalog for current sizes and prices; the cheapest size is not the price of every size.
Check the result before checkout
Look for malformed lettering, odd hands, unintended logos and small details you would not want enlarged. Generated pictures can contain mistakes. The preview is the point at which you decide whether this image should become a physical object.
- Open the studio and describe the picture and format.
- Review the image before selecting a size.
- Inspect the crop, wrap and selected options.
- Review the product price and shipping quote at checkout.
How do I turn a picture idea into something I can hang?
Start with the scene, treatment and object: “A simple blue woodcut of a sleeping cat, as a small framed print.” Inspect the generated image for the subject and details you asked for before choosing the physical size. If the cat has the wrong markings, revise the picture first.
Then compare the artwork on the available formats. Check the visible crop and any wrapped edges. Choose a size the file can support, then review the selected product options and final price before ordering.
- Describe one subject, a visual style and a product.
- Review the artwork before selecting the final size.
- Check the product preview and selected options before checkout.
Common questions
- Can I start with a photo instead?
- Yes. Attach a photo or artwork in the studio rather than generating a new picture.
- Do I have to buy the first image?
- No. Creating an image and ordering a physical product are separate steps. Review the design before deciding to order.